Arranging modules
You control how a patch is laid out on the screen: how big the modules are drawn and where each module sits.
This page describes:
- Module size: zoom the Patch View from 50% to 100%.
- Module positions: show modules packed together, or in the same positions as in your VCV Rack patch.
- Re-arranging modules: move modules around on the MetaModule, even while the patch is playing.
Most of these options live in the Patch View display settings menu, which you open by clicking the gear icon when viewing a patch. They are display settings, so they apply to every patch you open.
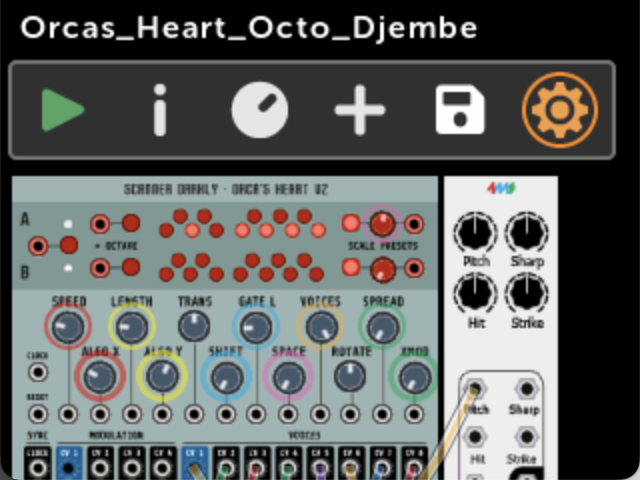
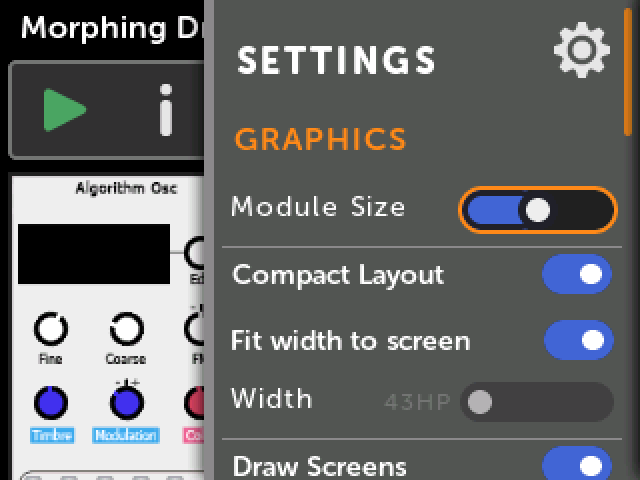
Module size (zoom)
The Module Size slider sets how tall the modules are drawn in the Patch View. There are five sizes, from 50% to 100% of the height of the screen. The default is 75%.
At smaller sizes more of the patch fits on the screen at once, which makes it easier to see the shape of a big patch. At 100% a module fills the height of the screen, so it's easier to see module details.
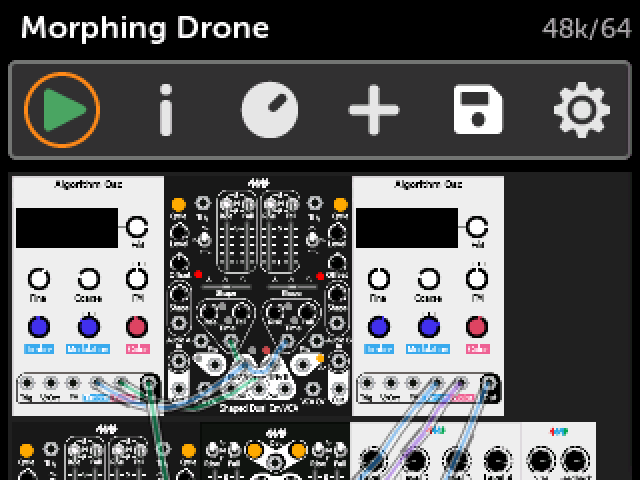
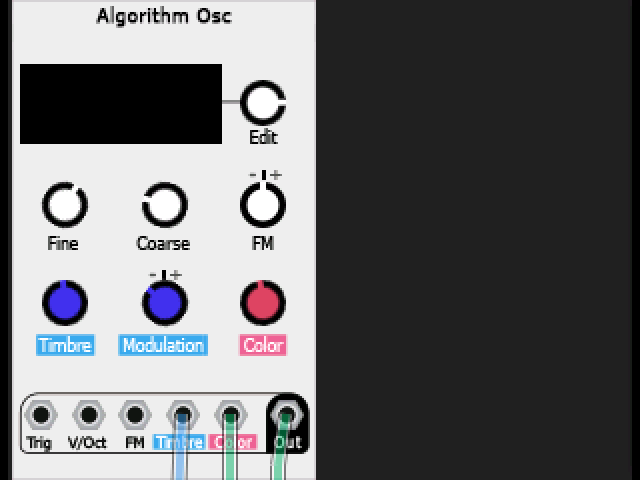
The patch is re-drawn as you move the slider, so you can see the result behind the menu.
Module Size only changes the Patch View. Clicking on a module still opens it in the Module View at the normal size.
Module positions
The Compact Layout setting chooses between two ways of placing modules.
-
Compact Layout on (default)
Modules are packed together from left to right with no gaps, and wrap to a new row when a row is full. The positions saved in the patch are ignored.
This is how all early firmware versions displayed a patch.
-
Compact Layout off
Each module is drawn at the position saved in the patch. For a patch made in VCV Rack, this is the same position the module has in the rack, including any gaps between modules and any empty rows.
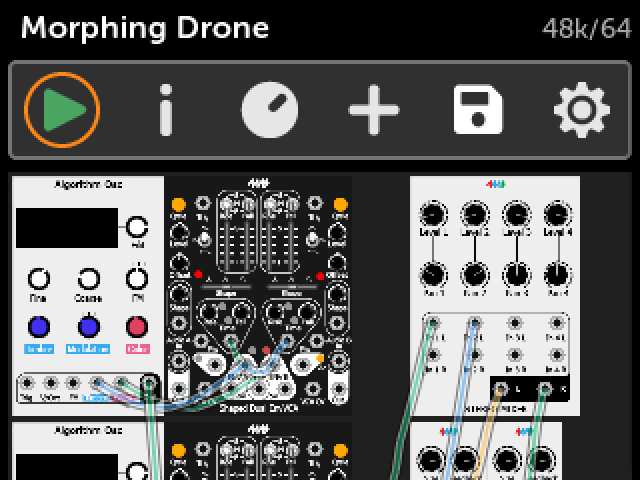
If the patch is wider than the screen, the Patch View scrolls sideways as you move from module to module. An orange bar at the bottom of the screen shows where you are.
Positions are saved in the patch file by the 4ms VCV Rack plugin v2.3.0 or later, so opening patches saved with an older version of the 4ms VCV plugin will be shown in a compact format. You can still move modules around, or re-save the patch from the updated 4ms VCV plugin.
With either setting, turning the encoder steps through the modules left to right, then down to the next row.
Note
The rack area has a maximum size which depends on the module zoom. If a patch is laid out too large to fit, a message tells you how many modules are not being displayed. Choose a smaller Module Size or turn on Compact Layout to see them. Modules that aren't displayed are still part of the patch and still run, but you cannot see or edit them.
Rack width
When Compact Layout is on, two additional settings choose where each row of modules wraps:
-
Fit width to screen: When on (the default), a row is as wide as the screen, so you never scroll horizontally. When this is off, the width is set by the Width slider.
-
Width: When Fit width to screen is off, this slider sets the width of a row in HP, from 28HP to 128HP. If a row is wider than the screen, the Patch View scrolls sideways. The number next to the slider shows the current width. The new width is applied when you move off the slider or close the menu.
These two settings are greyed out when Compact Layout is off, because then the patch's own positions decide how wide the patch is.
Turning Fit width to screen off means that as change the Module Size, the patch will effectively zoom in and out without changing the placement of modules. The downside is that you may have to scroll horizontally and vertically.
Re-arranging modules
You can move modules around on the MetaModule. This works whether the patch is playing or stopped, and the cables follow the modules as they move.
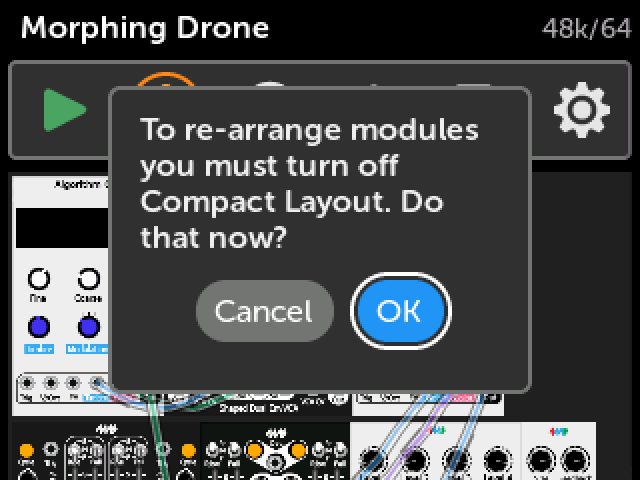
Re-arranging changes the positions saved in the patch, so it needs Compact Layout to be off. If it's on, you'll be asked to turn it off first.
-
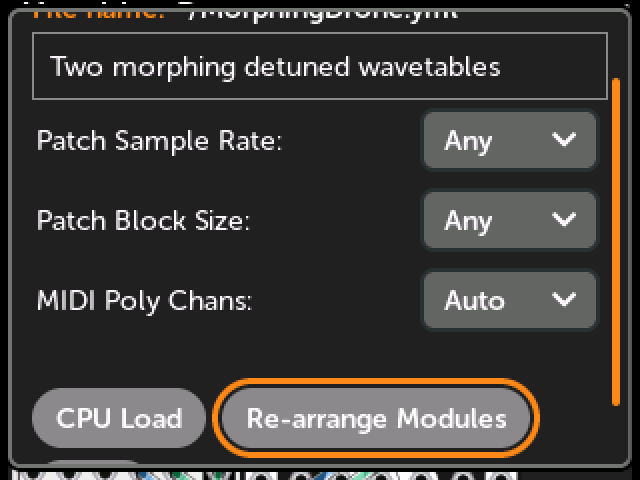
1. Open the Patch Info window and click
Re-arrange ModulesClick the
(i)icon in the Patch View and scroll down to find the button.Alternatively, open a module's Action menu and click
Move. This starts re-arranging with that module already picked up, so you can skip over step 3.
-
2. If asked, click
OKto turn off Compact LayoutThe patch is re-drawn using its saved positions.
-
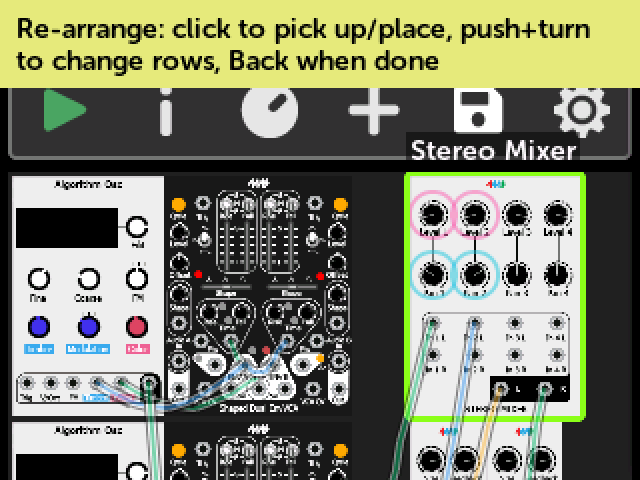
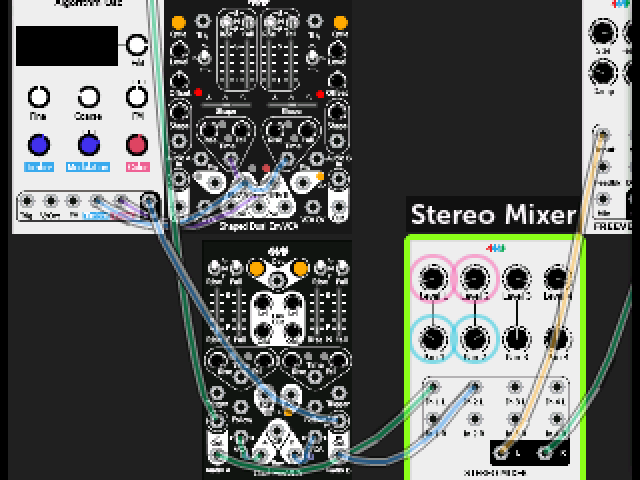
3. Turn the encoder to highlight a module, and click to pick it up
While you are re-arranging, the highlighted module has a red outline. The outline turns yellow-green when the module is picked up.
-
4. Move the module
- Turn the encoder to move the module left or right along its row. If you go past the start or end of a row, it'll jump to the previous/next row.
- Push and turn the encoder to move the module up or down a row.
-
5. Click to put the module down
Pick up and move as many modules as you like. When you're done, press the Back button.
How modules move:
- If there is a gap next to the module, turning moves the module into the gap, 2HP at a time.
- If the module is touching its neighbor, turning makes the two modules trade places.
- Turning past the end of a row moves the module to the start of the next row. Turning past the start of a row moves it to the end of the previous row. This wraps around: going past the end of the last row takes the module to the first row, and going back past the start of the first row takes it to the last row.
- When a module moves onto a row that already has modules where it lands, those modules are pushed to the right to make room.
- To make a new row at the bottom, push and turn clockwise while the module is on the last row. (This does nothing if the module is the only one on the last row.)
The new positions are part of the patch, so save the patch to keep them. Moving modules does not change the sound of a patch, its cables, its mappings, its CPU load, or its expander connections.